Blog
Karakami woodblock printing experience
2022/01/18
Note: this is the fourth in our series of articles focusing on the fascinating traditional craft of Kyo-karakami and its place in modern life. Check the previous articles here:
Studio visit to Maruni, Kyo-karakami maker
Interview with Sachihito Kudo, Kyoto karakami artisan
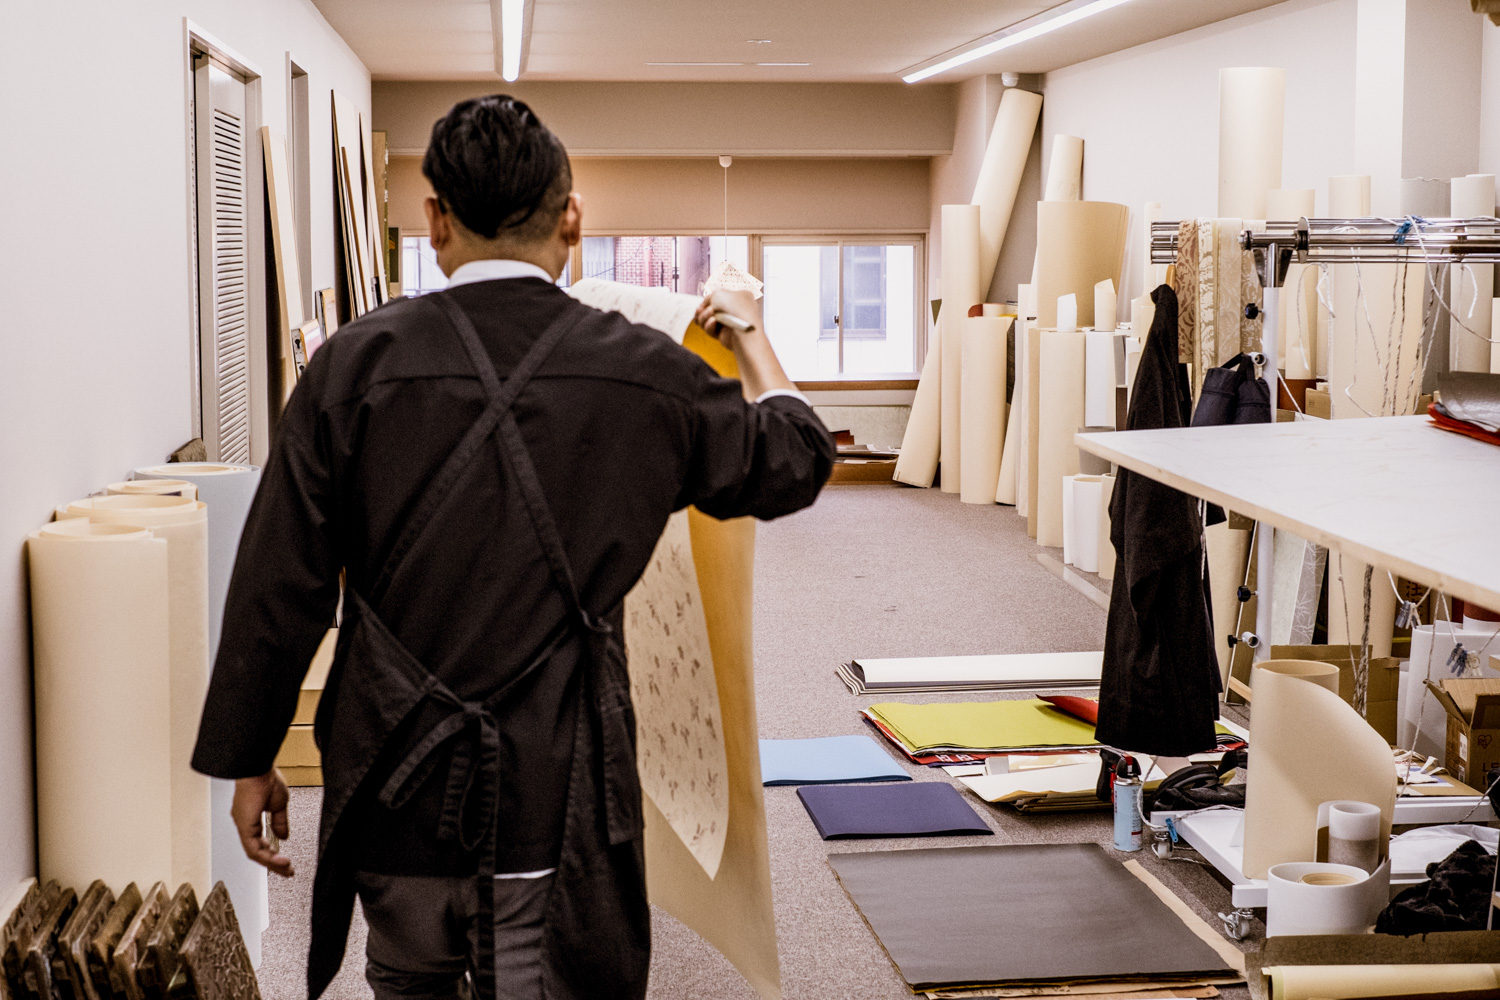
So now you’re wondering how the process of Kyoto-style Karakami woodblock printing looks like? We tried the Karakami printing workshop at Maruni available on our list of Kyoto craft experiences.
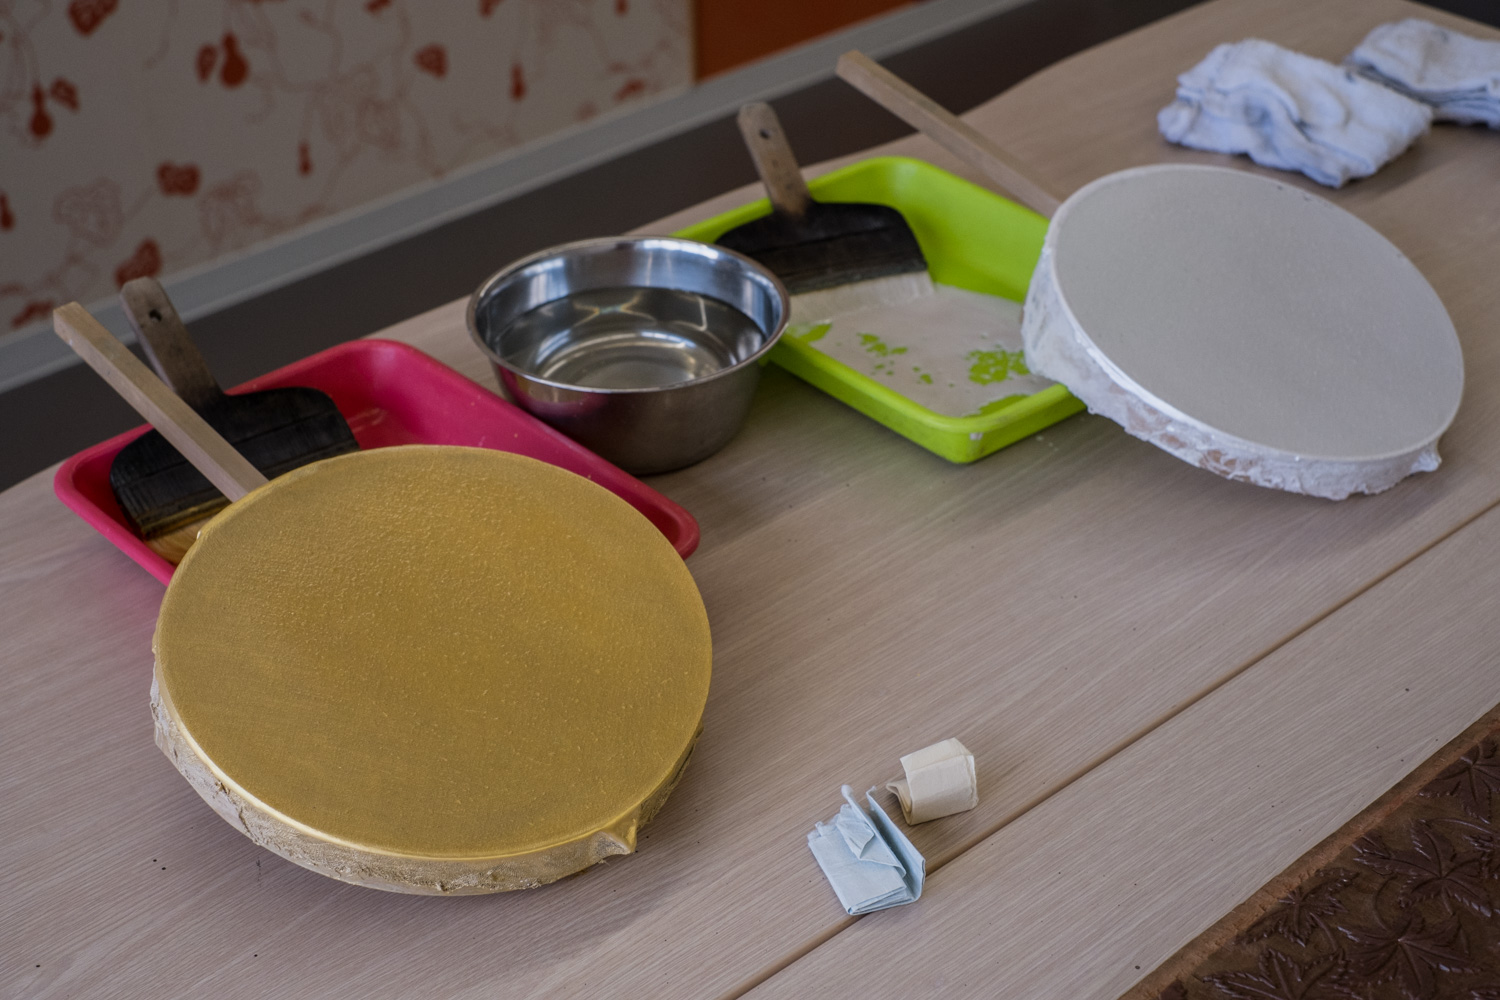
First things first, here are the tools you’ll need for Karakami printing:
・dye paste made from a kind of seaweed called funori, mica powder and ground seashells mixed with some colour pigments (in our case, silver and gold);
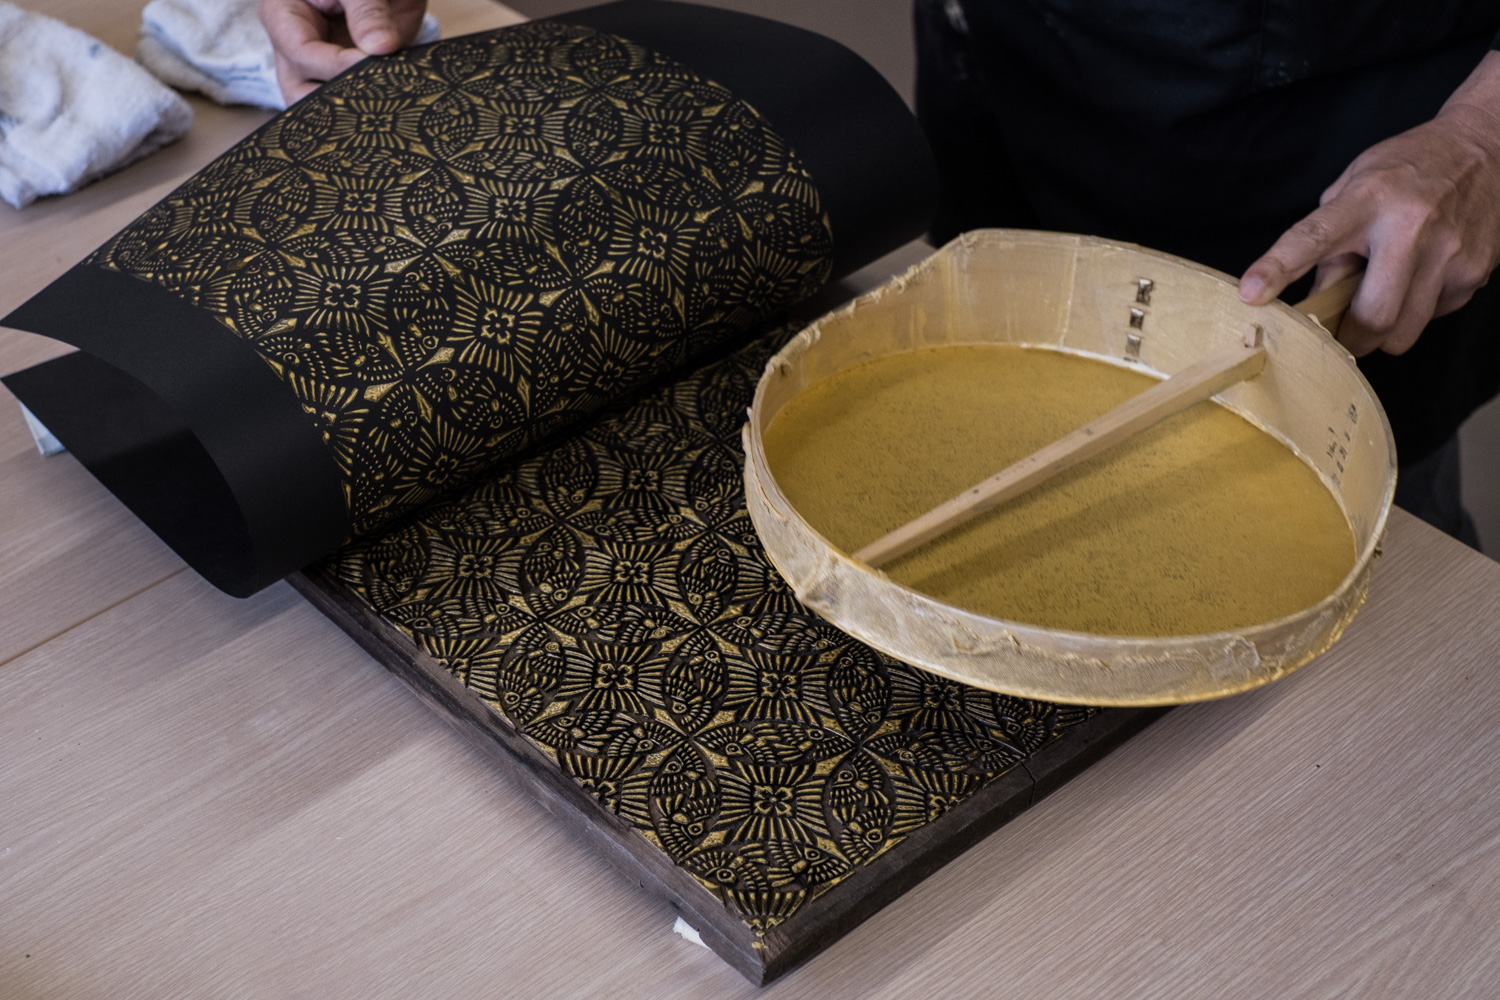
・a special sieve called furui used only for Karakami printing;
・a wide brush for applying the dye to the sieve;
・a sheet of thick washi paper;
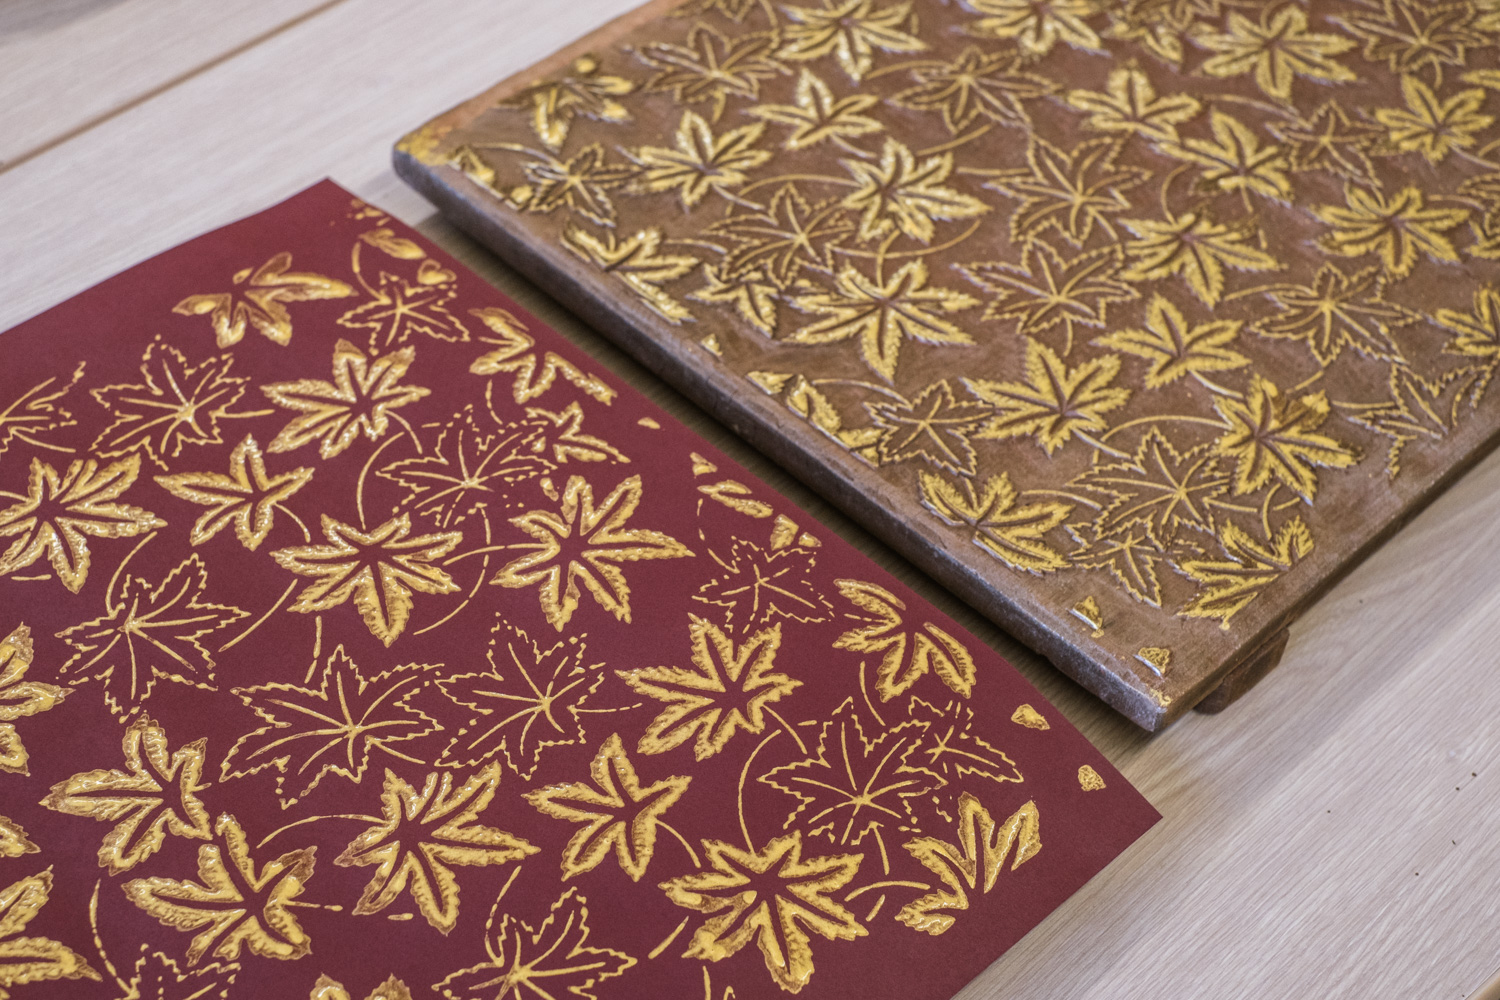
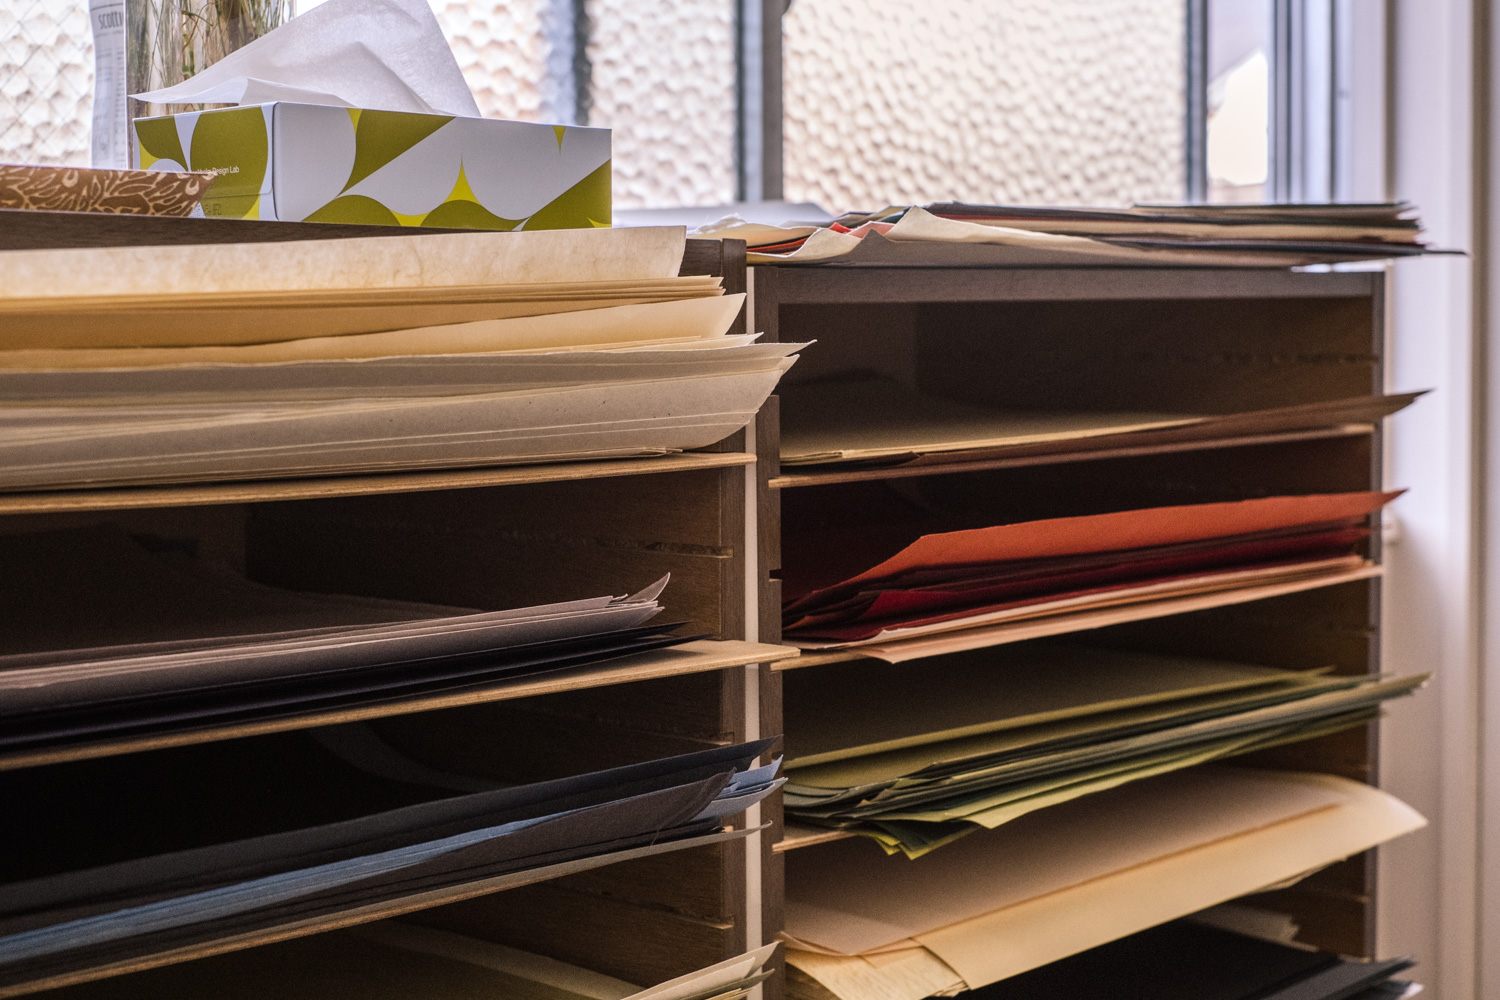
Now, the fun part of the experience is that you’ll get to use the same old woodblocks that the artisans are using at work, and they change every season! You will be presented with 3 woodblocks and a wide choice of coloured washi paper to print 4 Karakami sheets (47cm x 28cm).
Before trying to do it yourself, the artisan (check out our interview with him if you missed it) will give you a swift and seemingly effortless demonstration of his skills explaining the steps of the printing process.
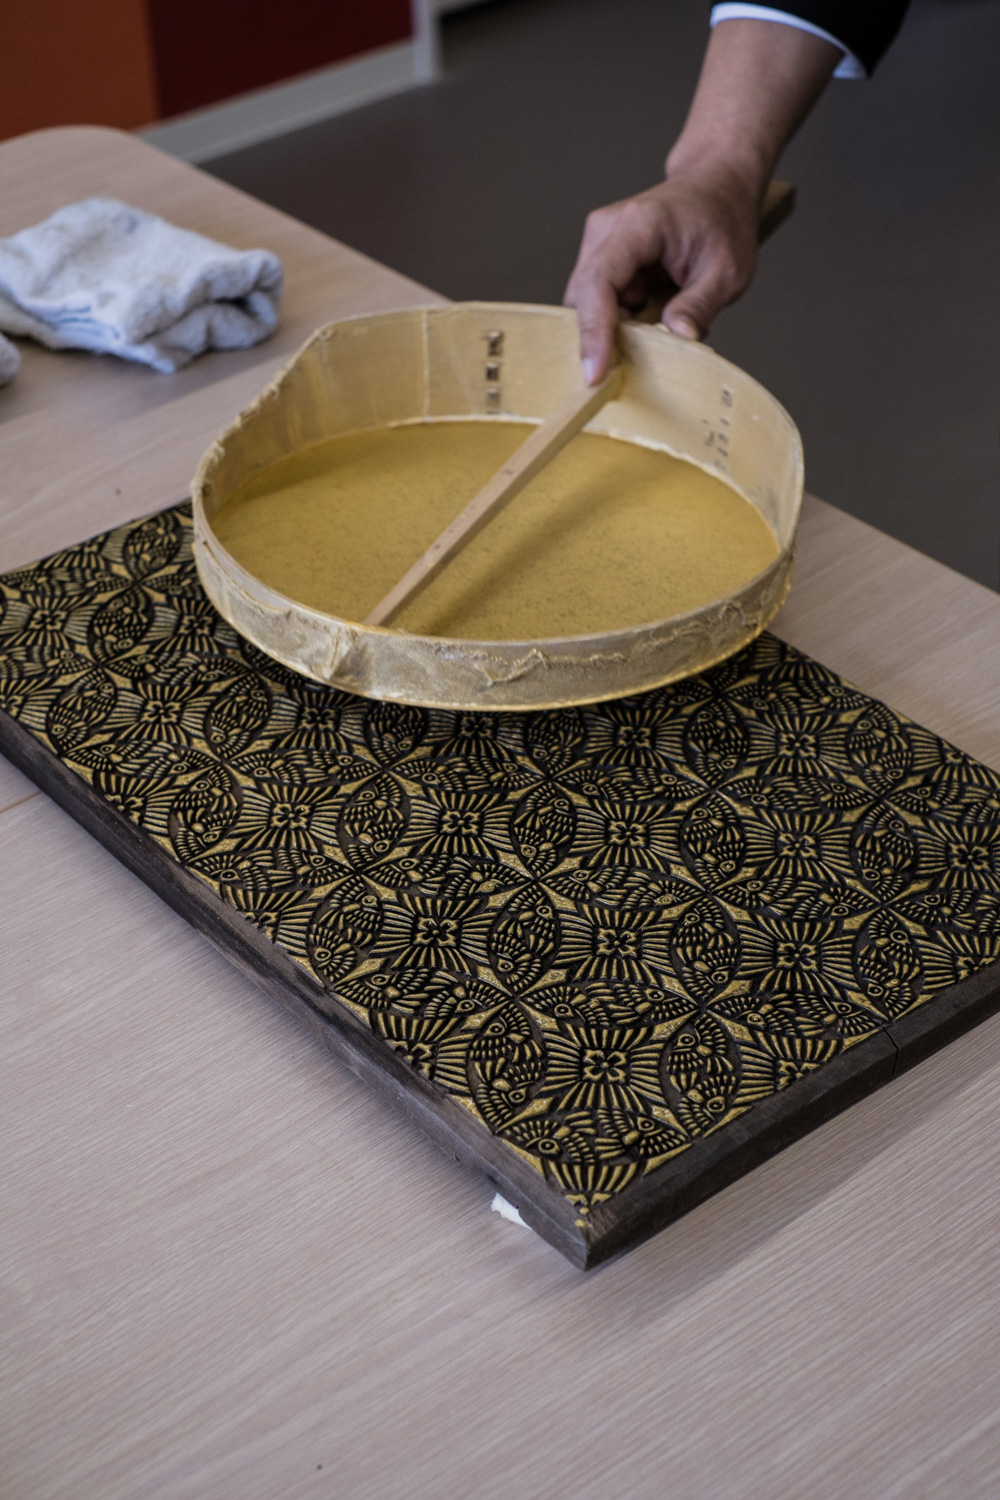
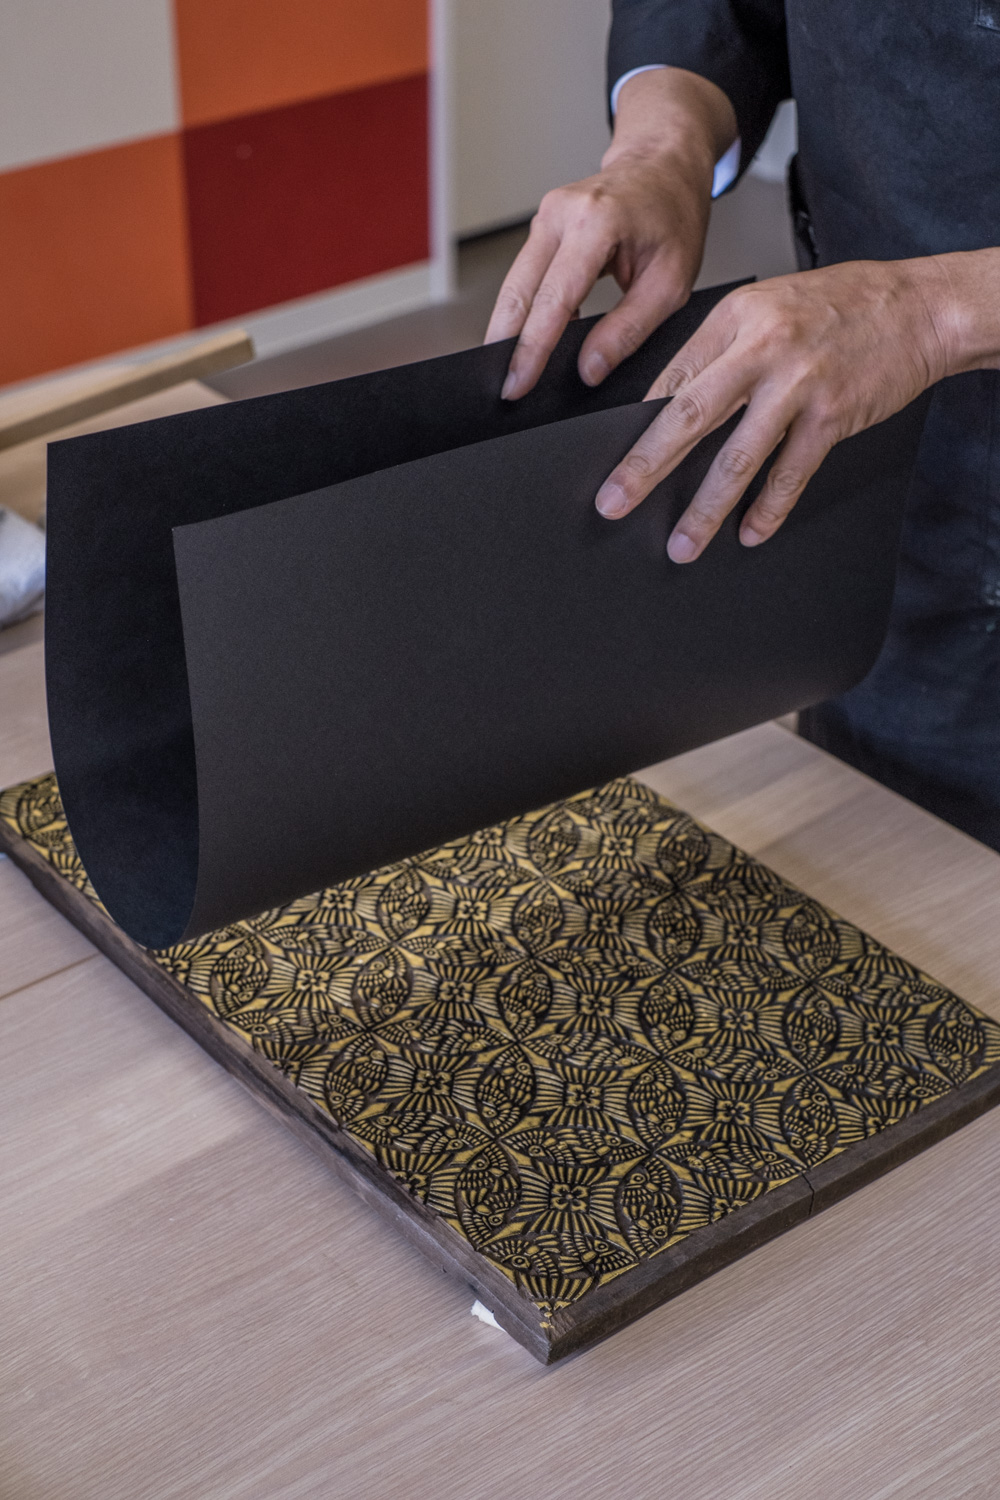
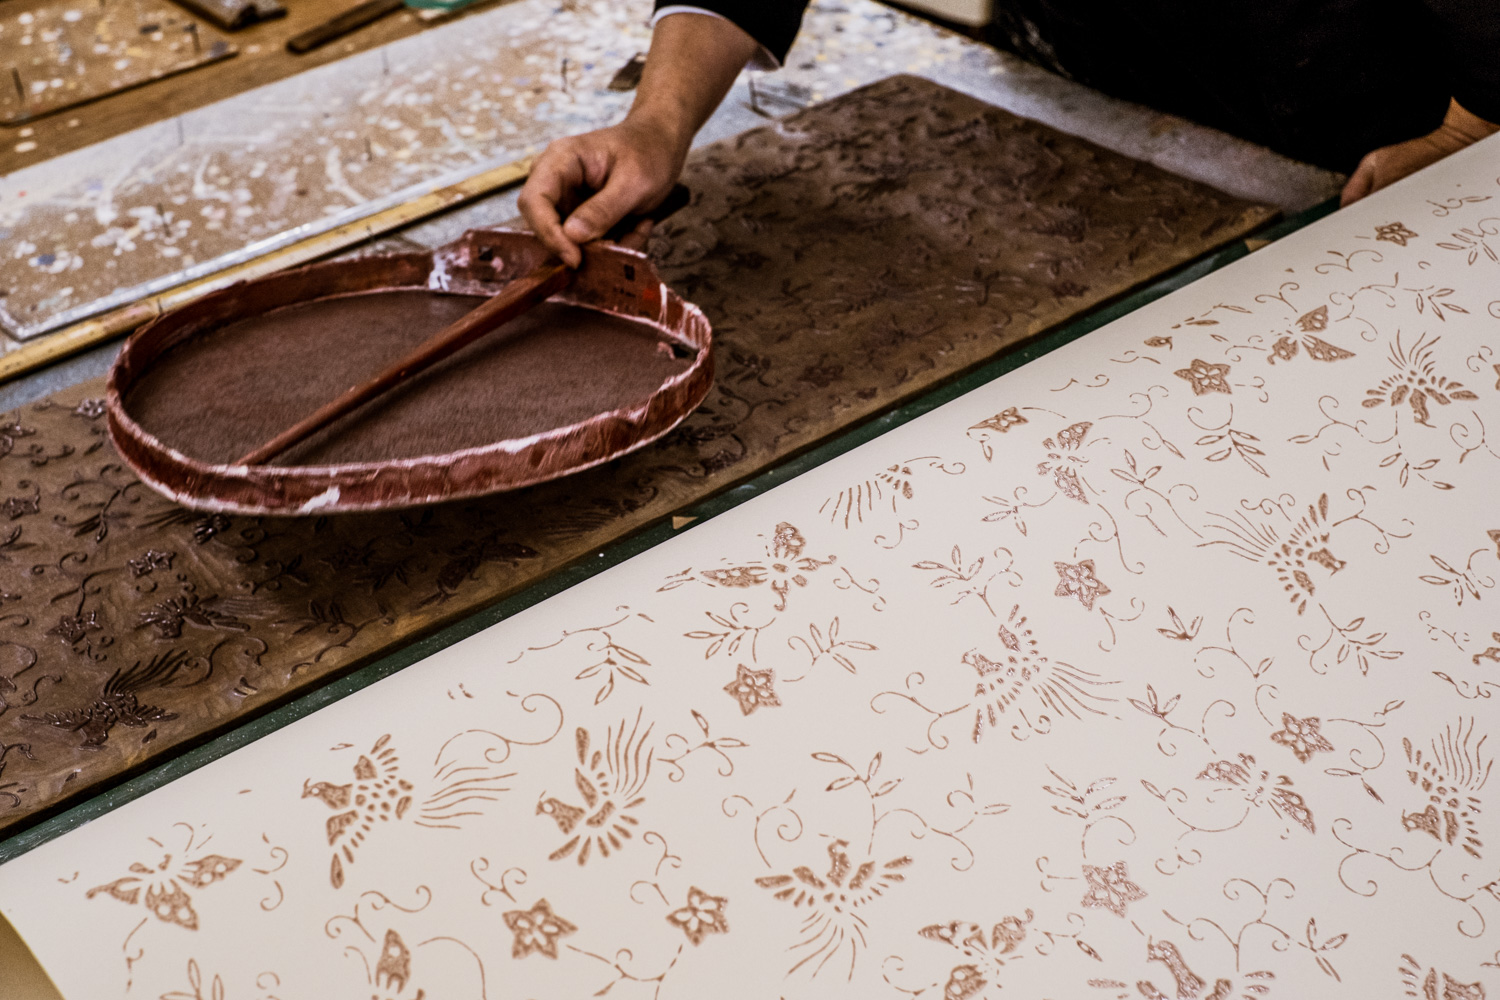
After spreading the dye on the sieve with the brush, you start applying the dye to the woodblock with gentle taps, making sure that all the surface of the block is covered with it. Then, you place the paper on the block and print the pattern on it with circular hand motions.

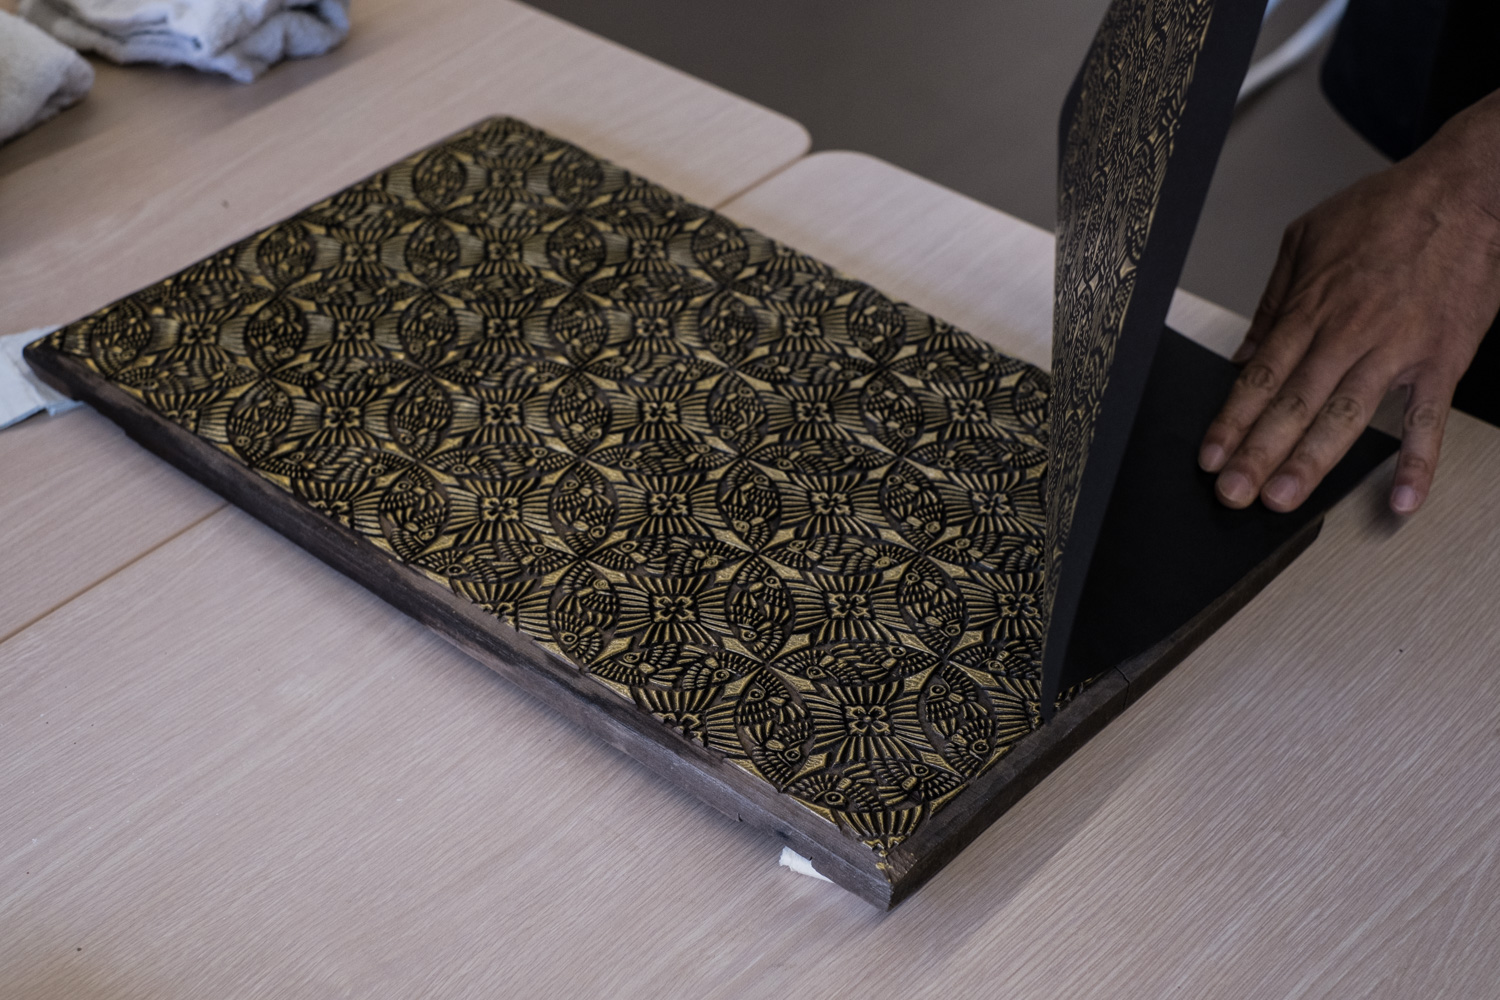
For the most stunning effect, the printing is repeated again by applying the dye to the sieve, then to the block and hand printing one half of the sheet at a time, in order not to smudge the motif on the paper. The quick removal of the sheet at the end is not for the faint-hearted either.
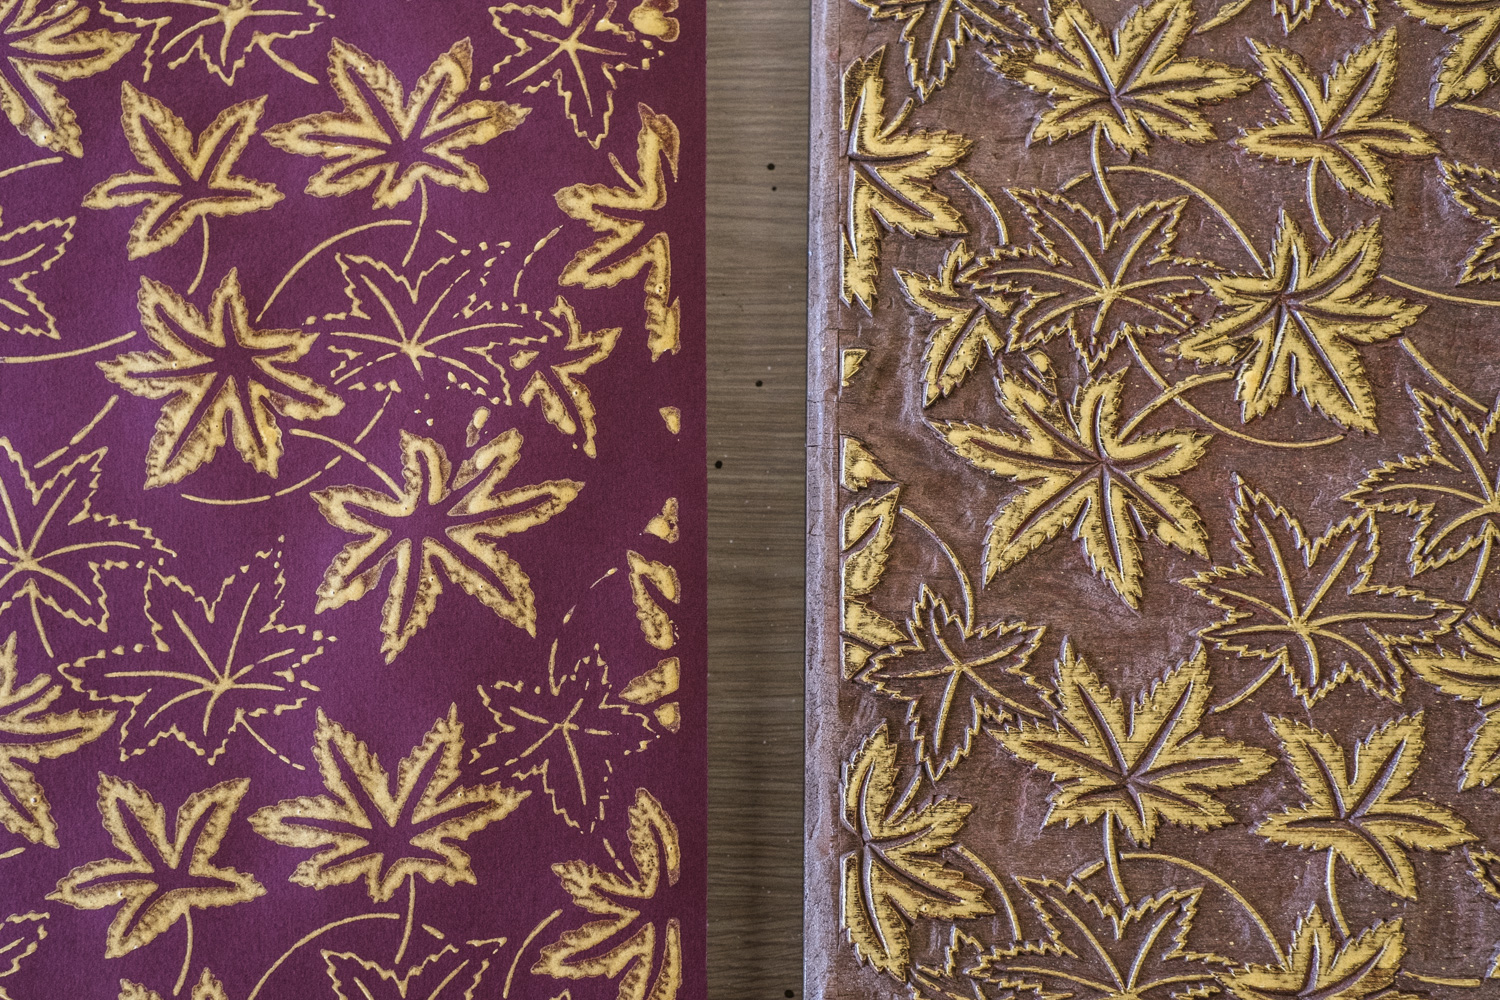
The printing of a relatively small sheet of paper being difficult enough, we got curious about how the printing is done on the sheets used for fusuma sliding doors. Our instructor kindly showed us the exact technique he uses for larger-scale Karakami printing: the woodblock is covered with the dye, and the paper sheet is repositioned 12 times (24 times including the second pressing) to cover all the surface of it… We were blown away by the craftsman’s skills necessary for the job to be done perfectly. After the printing is done, the paper is left to dry naturally.
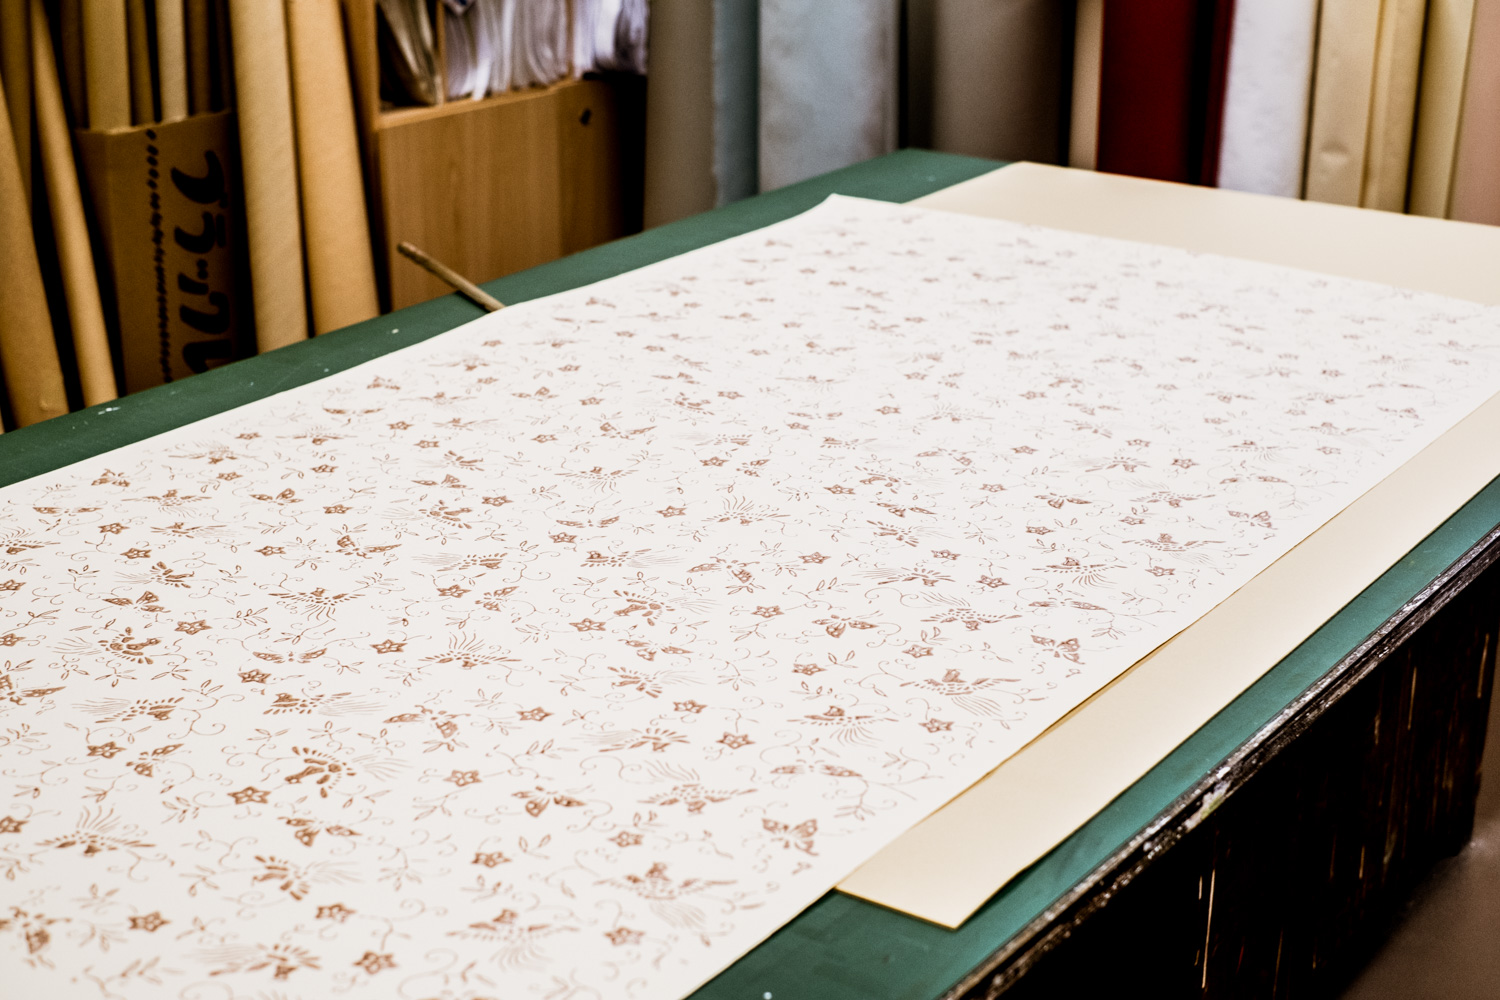
When the workshop is finished, you will have 4 unique Karakami sheets printed by you to take home, which you could use for creating wall panels or small folding screens if you wish to.
If you plan to come to Kyoto and try your hand at the Kyo-karakami paper printing technique, book your experience here: Karakami atelier visit and printing workshops
Words & images by Anastasiya Bulkavets (ArigatoCreative.co)